Turn notebook notes into a reviewer, cards, or an exam
Keep sketches beside your text, then choose a direct reviewer or an AI draft from one page or a whole notebook.
AI-assisted writing. Feature steps checked against StudySoda’s current editor, study screens, and API contracts. Our editorial approach
Study tools use the text in your notebook. Drawings remain in the notebook, so put essential labels, formulas, and conclusions into text too.
Keep the explanation beside the sketch
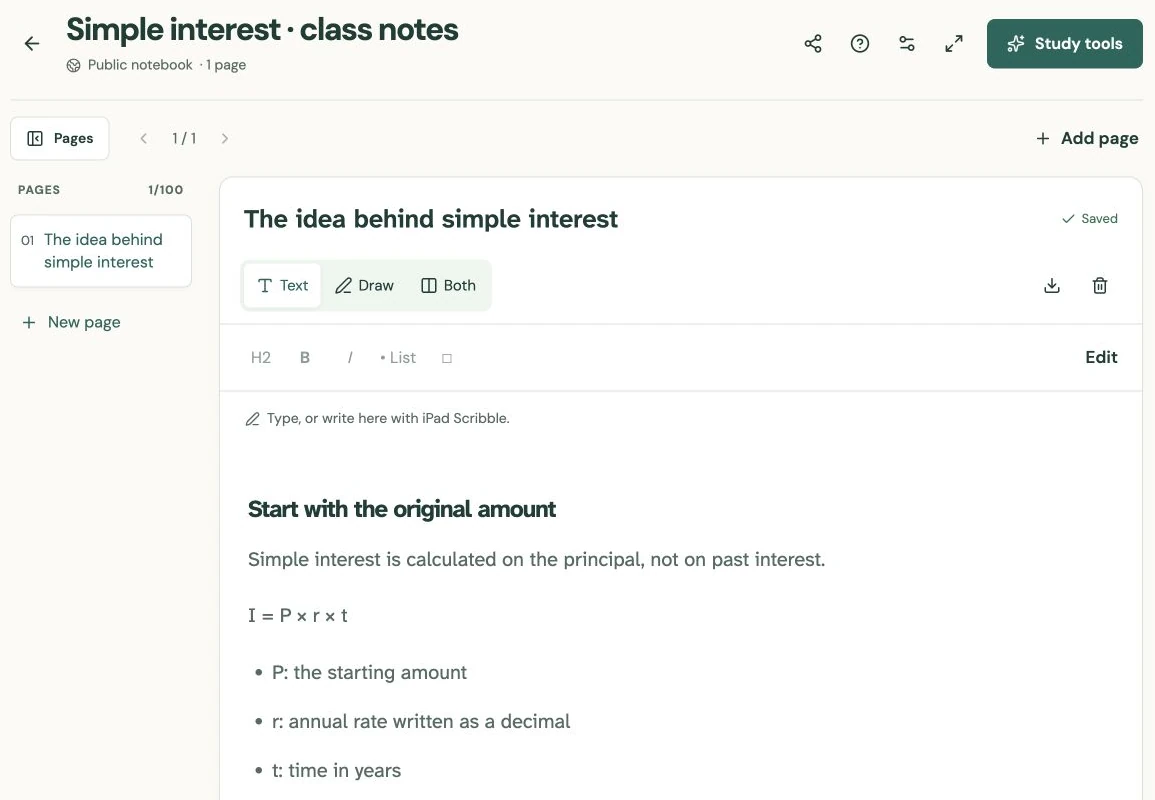
Start a notebook for one course or project, then give each page a specific lesson title. Use Text, Draw, or Both to choose a comfortable layout. A diagram can stay in the drawing area while its definitions and main conclusions go in the text area.
On a supported iPad with Apple Pencil, Apple Scribble can enter handwriting as text in the text field. That is different from drawing on the canvas: canvas ink is not recognized or transcribed by StudySoda. If your diagram says “rate per quarter,” type that condition beside it so the later study material includes it.
For example, pair a timeline sketch with “$2,400 principal; 6% annual simple interest; eight months; find interest.” These explicit units are more useful to a study draft than an unlabeled arrow.
Check that the page is saved
Notebook pages save automatically. Wait for Saved before switching devices or relying on the server copy. If the connection fails, the browser can keep a recovery draft, but that is not a promise of offline synchronization. Use Page options → Download text when you need a separate copy.
If another edit creates a conflict, compare the available versions before deciding which to keep. Save as new page can preserve the local version without replacing the server page. Do not repeatedly reload while assuming every unsaved drawing has already reached your account.
Before conversion, remove duplicated headings and add any explanation that exists only in ink. A short source check here prevents a polished-looking draft from omitting the most important part of the lesson.
Choose a direct reviewer or an AI draft
Choose Study tools to open Turn your notes into…, then choose This page or Whole notebook. Start with one page if the notebook contains several unrelated chapters; a smaller source makes the result easier to inspect.
For a reviewer that preserves the written notes, leave Organize and summarize with AI off and choose Create reviewer. The conversion tells you the new reviewer’s visibility. This direct route remains useful when AI is unavailable.
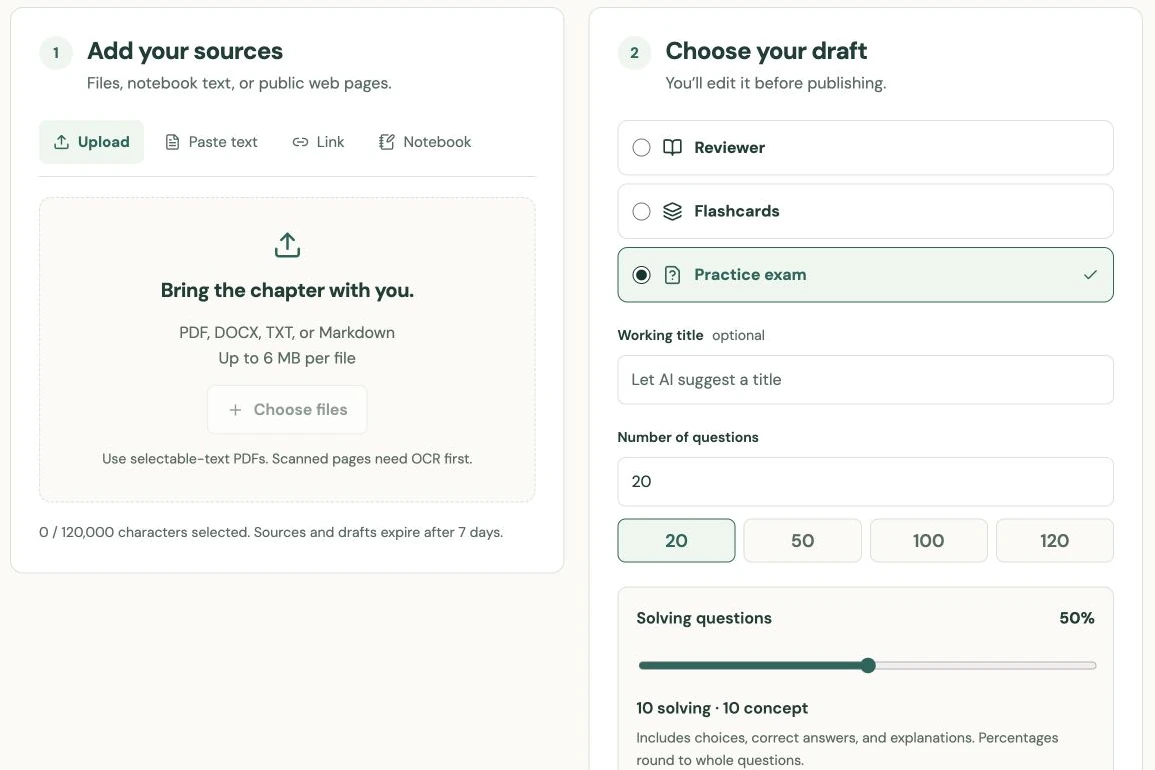
For rewritten notes, enable that option. For flashcards or an exam, choose the relevant format and Continue to AI. The notebook text becomes a source in the AI assistant, where you set card or question counts and instructions. Generation depends on the installation’s AI availability and your allowance; the notebook itself does not require a generation request.
Treat the result as a separate material
An AI result is a draft to review in the existing editor. Check that every key definition appears, then verify answers and calculations against your notes. A draft cannot reliably fill gaps in a diagram it never received.
The new material is separate from the notebook. Later notebook changes do not silently update an already created reviewer, deck, or exam. Correct the material itself, or make a new draft from the updated source when the lesson changes substantially.
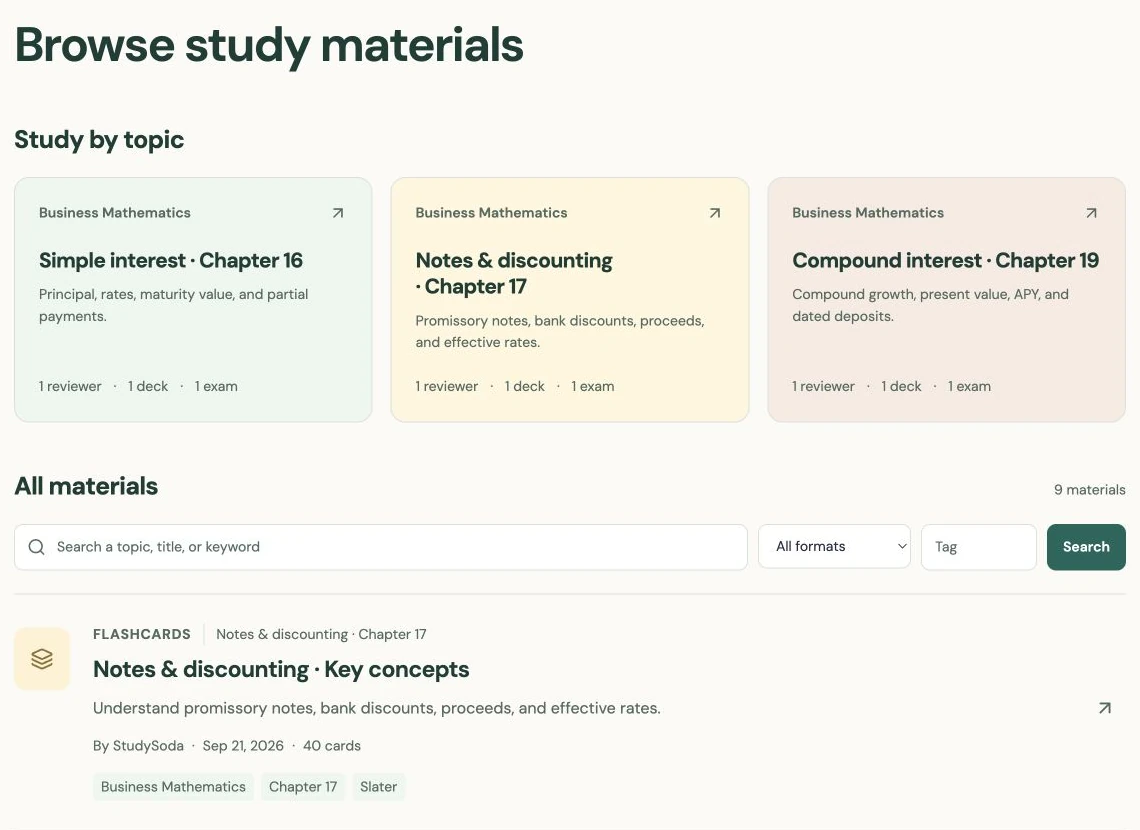
Finally, check the material’s title, subject, topic, and visibility. Public materials can be read by other people; private materials require Pro. If the notebook contains names or restricted course content, remove those details before publishing a public derivative. Use a shared topic to connect the finished reviewer, cards, and exam.
Put it into practice.
Open notebooksFurther help
- Notebooks
Text, drawing, save status, and the conversion choices described here.
- Public and private materials
Check visibility separately for each published material.